This guest blog post was written by Zach Schiller, a third-year interior design student at the Art Institute of Raleigh-Durham and a member of the ASID student chapter. He specializes in custom-made pieces using locally-sourced, sustainable materials (including those found at the ReStore!). This is his second tutorial in partnership with Habitat Wake ReStores. This piece will be up for auction at the Raleigh location starting September 2nd. For more information on the auction, click here. 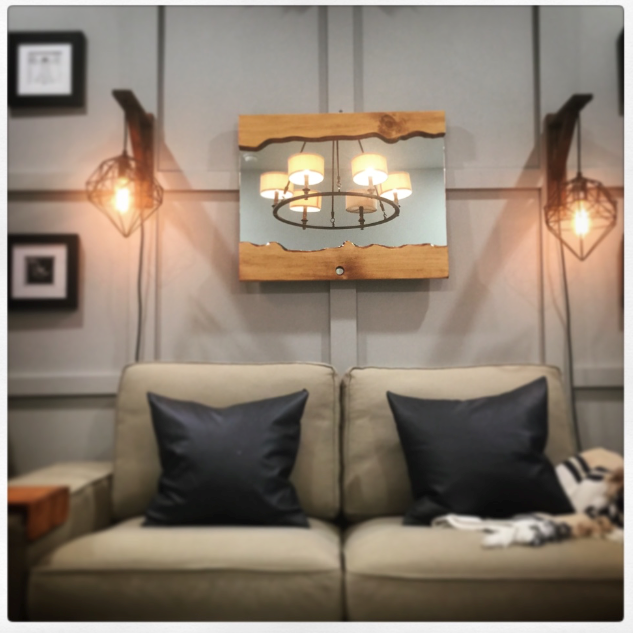 Hello again! A popular trend right now is live edge furniture and décor. Live edge pieces are usually often created with exotic wood, but I love maple and oak wood for live edge projects. They have so many knots and the trunks are always asymmetrical which makes them more interesting. Unfortunately, a real live edge piece comes a hefty price tag: as expensive as $1,500 or even more. Our project will cost around $50. [caption id="attachment_6649" align="aligncenter" width="564"]
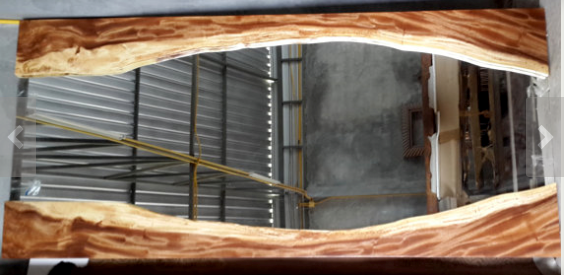 Live Edge Acacia Wood Mirror $1,150 on Etsy.[/caption] For this project we will be creating a live edge-inspired mirror for a lot less money using materials from Habitat Wake ReStores. Tools: Jigsaw Dremel tool with 220 sanding bits (or you can sand by hand with 220 grit sandpaper) Materials: Mirror 1 Pine plank at 1x10x6 (make sure your plank is longer than the mirror) Liquid nails Heavy duty hanging hardware Clamps Steps: 1. Gather your materials. I found a 18”x28” mirror at Wake Habitat for Humanity for only $10 that came from a demolition. I wanted an older mirror because they tend to be thicker and heavier. I also picked up pine wood at the ReStores, which we’re going to use to make the live edge.
 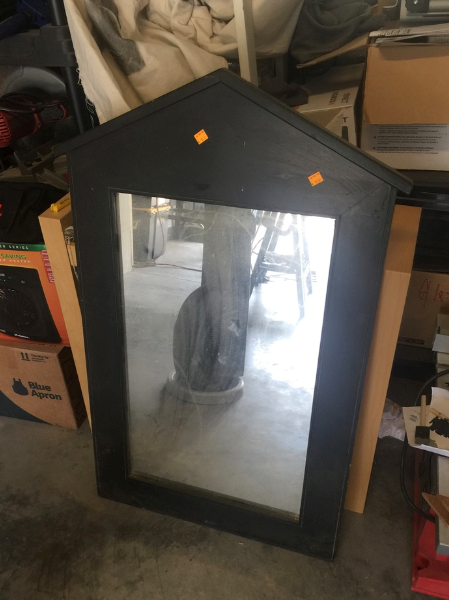 2. Remove the mirror from the frame using a flat-head screwdriver and rubber mallet. Wedge the screwdriver tip under the staples and lift them out. I used needle nose pliers to help lift out the staples.
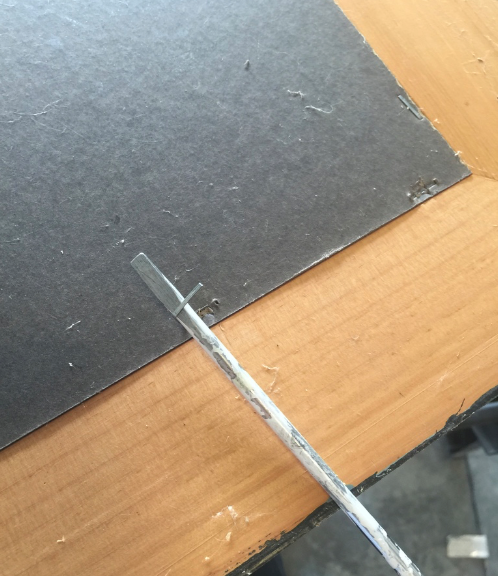
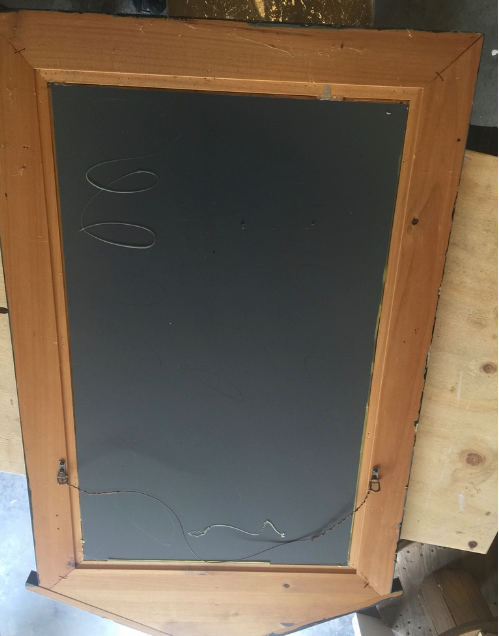 3. Lift off the cardboard backing to expose the back of the mirror. There was adhesive but it didn’t stick to the cardboard very well, which is a good thing for us. The mirror easily lifted off the frame.
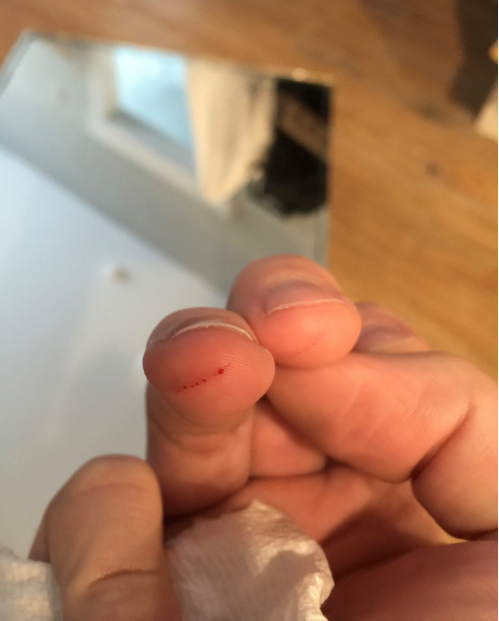
  4. Now you want to clean off the mirror really well with Windex and paper towels. Be careful with mirror edges because they can be very sharp. Don’t make this rookie mistake like I did!
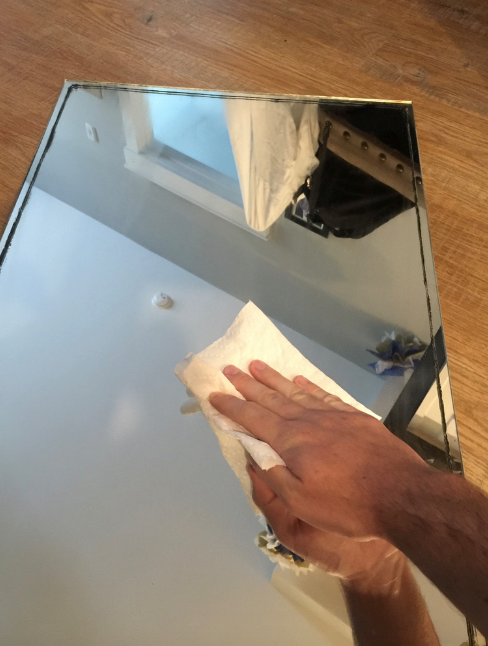
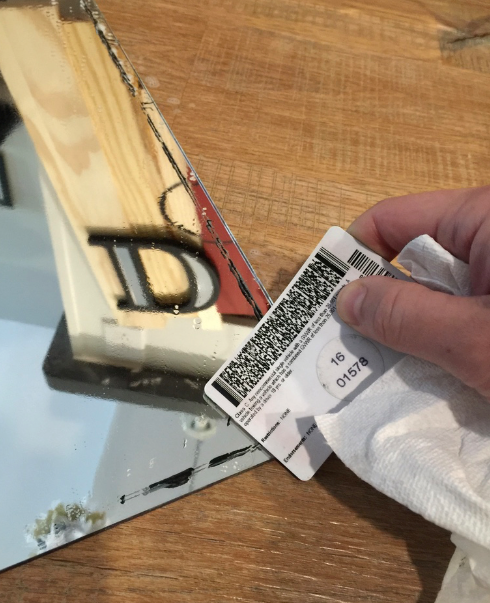
 5. There was paint on the front of the mirror that we need to get off. Thankfully the mirror frame was painted with latex paint so it easily scraped off with a plastic card.
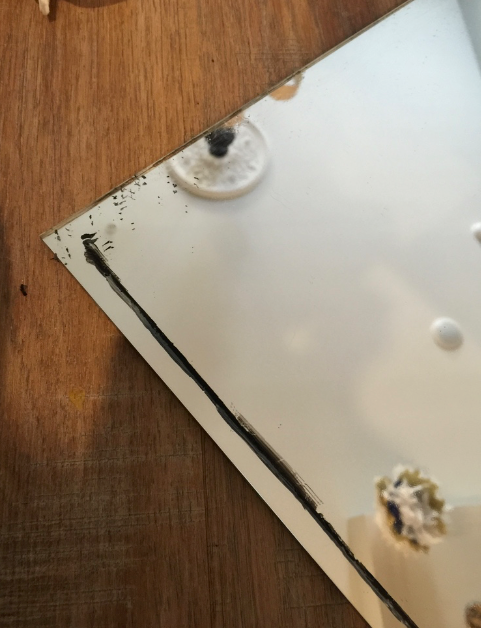
 6. Now we get to the fun stuff: cutting the shape for the live edge! Before you draw your design, find the center of your board and mark it with a pencil. Do this on both ends of the board. This helps with guiding where your lines should be. Now you can draw your design. If there are knots in your wood you will want to keep it in your design instead of cutting out the knots as they make the wood look more natural.
 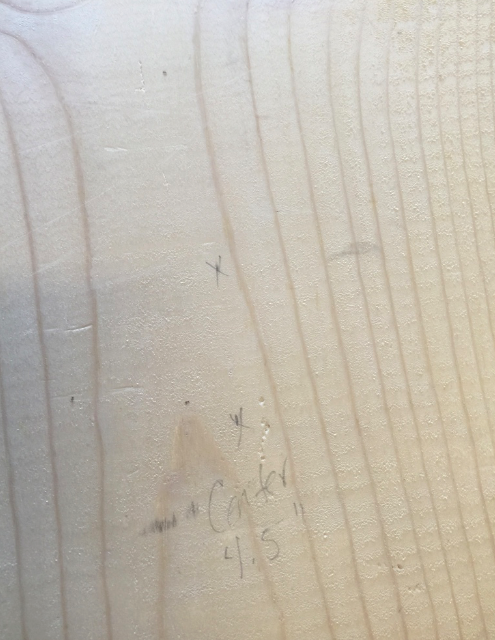 7. Now its time to cut!
 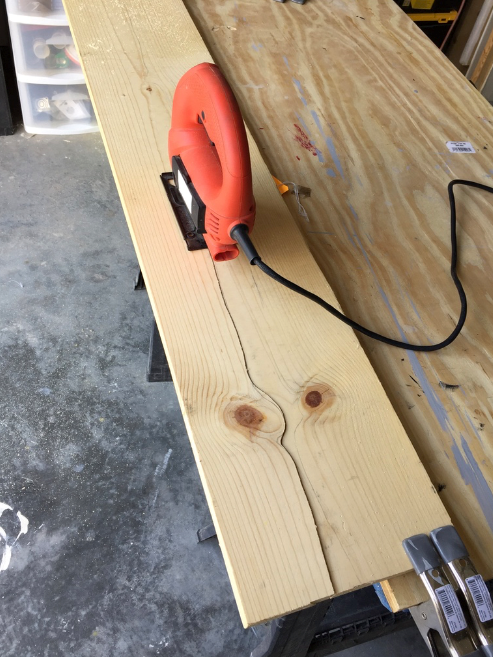 [caption id="attachment_6660" align="alignright" width="201"]
 Cool kids wear safety glasses.[/caption] Safety glasses time! A jigsaw works very well here. Make sure the blade you have in your jigsaw is made for cutting out designs (it will be thinner and have smaller teeth that cut curves better). If you have a very intricate design you will want to make relief cuts, which is where you make several cuts out of the wood during the sawing process. Otherwise you may have a difficult time trying to get the jigsaw in tight curves. Work smart not hard. [caption id="attachment_6661" align="aligncenter" width="496"]
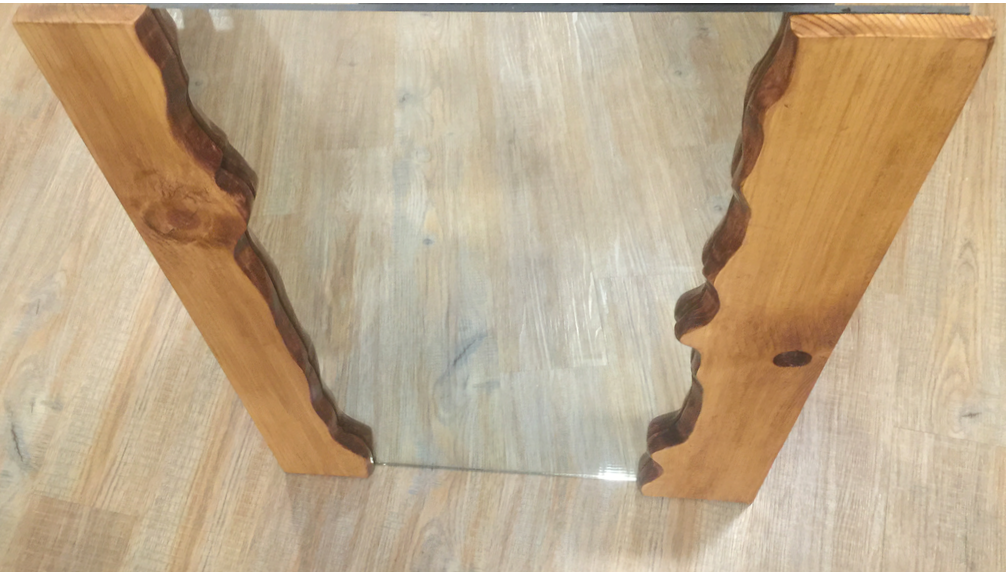
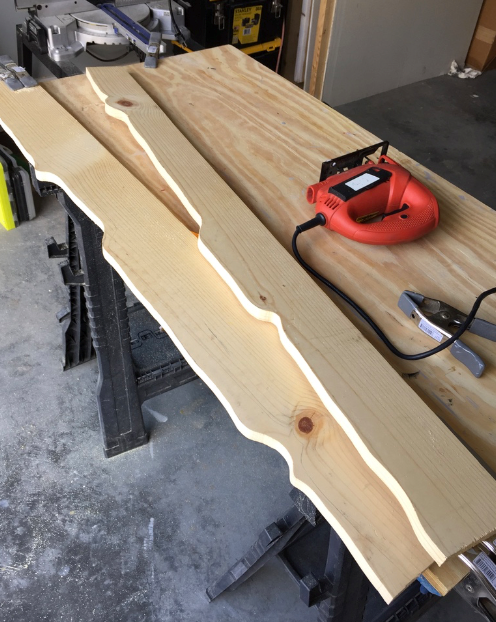 Here are both pieces. It’s coming along![/caption] 8. I wanted to create more of a natural edge like you would see on an actual live edge piece. This step is completely optional. To do this I took my handy jigsaw cut along the edges at a slight angle. You still have on your safety glasses right? Be very careful if you try this because wood pieces can fly at you and your blade is more exposed. Keep an eye on your blade and make sure your fingers are not caught in the crossfire. If you haven’t worked with a jigsaw before I wouldn’t suggest trying this.
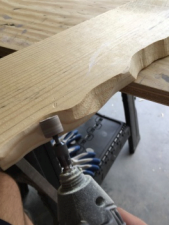
 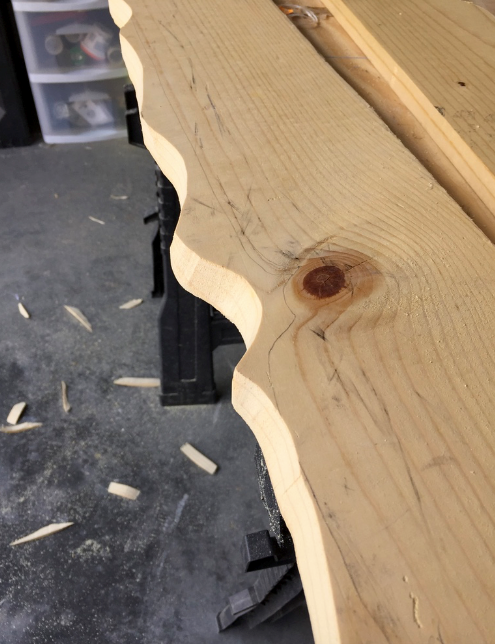 9. Time to sand the edges, folks.This is a good time to put on a face mask to keep those pesky wood particles out of your lungs. A very handy tool to have for this part (and for other projects) is a Dremel tool. I attached a 220 grit sanding bit and turned the Dremel power level to a very low setting of about 10 or 15 and sanded away. You still have on your safety glasses right? During this process you can also further manipulate the shape of your edges with the sanding bit. After using the Dremel, I continued to smooth the edges with 300 grit sandpaper on a foam sanding block. This gives it a very fine finished look. After you complete the edges you will want to sand the top of your wood pieces. Since pine is naturally soft you can start with a finer sandpaper like 220, then you can follow with 300. I wouldn’t suggest sanding with anything finer than 300 because it may give you problems later on with the top finish coat adhering to the wood.
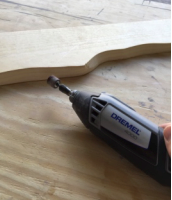
 10. Wipe off your boards with a damp rag to get rid of all the sanding dust. Lay your freshly sanded wood pieces on top of you mirror and position them where they would be mounted. This is when you should turn your wood upside down and flip them to opposite sides to see which way they look best. Remember that your two pieces of wood don’t have to perfectly mirror each other -- perfectly imperfect is the idea here.
 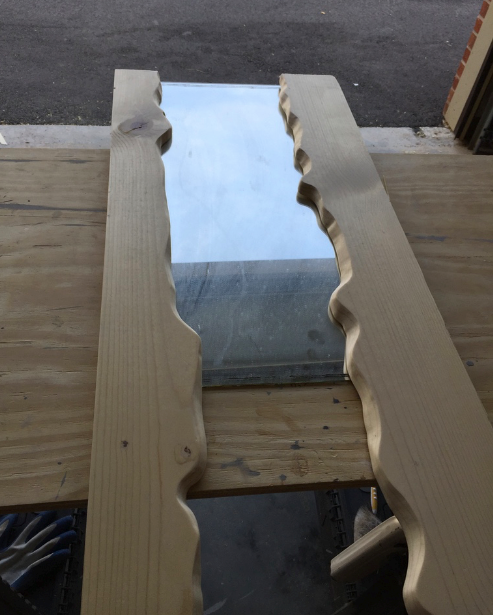 11. Measure, mark with pencil, and cut your board legnths down to the bottom edge of the mirror. You can use your jigsaw if you can cut a strait line. I played it safe and cut the excess length off with the compound miter saw. You could also use a handsaw. 12. After cutting the boards down to size, the proportions kind of changed. There is a natural knot in one of the planks. (Which I love) However it didn’t have a hole that went all the way through. So I grabbed a drill bit (here I used 1 inch but choose any size you like) and drilled a hole at a slight angle all the way through board. For some reason, this fixed what was missing. High-five for improvising! Now it’s perfect.
 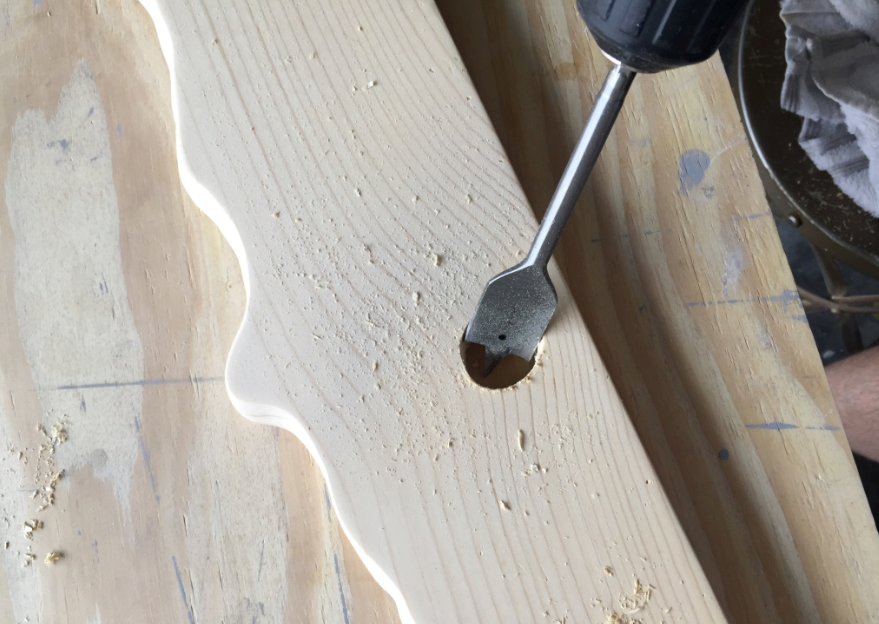 13. Close to finished! Lets stain these pieces. I always use a rag to hand stain wood because I like to control the depth of the color. We are only going to stain the top of the wood in this step. But first we have to pre-stain. Do not skip this step, especially with pine and other soft woods. If you don’t use pre-stain, your wood won’t soak up the colored stain evenly and will end up with a very splotchy finish.
 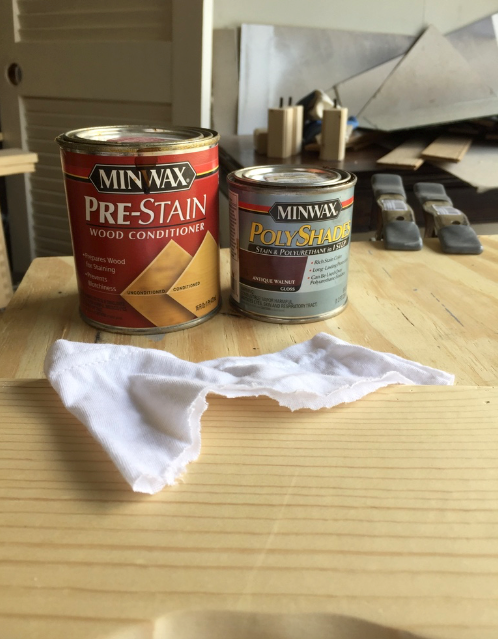 Wipe on a coat of pre-stain and let it sit for 5-15 minutes. Wipe off the excess and follow with colored stain. Since I wanted a natural look I went with a lighter stain I got from Habitat Wake ReStores called “Polyshade Antique Walnut, which had polyurethane mixed in with it. Now stain away! But just the top. The edges are next. 14. Now lets stain the edges a shade darker than what we used on the top to mimic a real live edge piece, which would have a darker edge where the tree bark was once attached. I promise its worth the extra step. To create the darker shade I mixed the Antique Walnut with a very small amount of Red Mahogany stain. This created the perfect color balance. Feel free to experiment with other stain mixing. IMPORTANT: make sure to stain underneath the edges because the mirror will reflect part of the edge from underneath. You don’t have to stain the entire backside of the boards, just about an inch inward from the edges. Let the stain dry completely before going to the next step.
 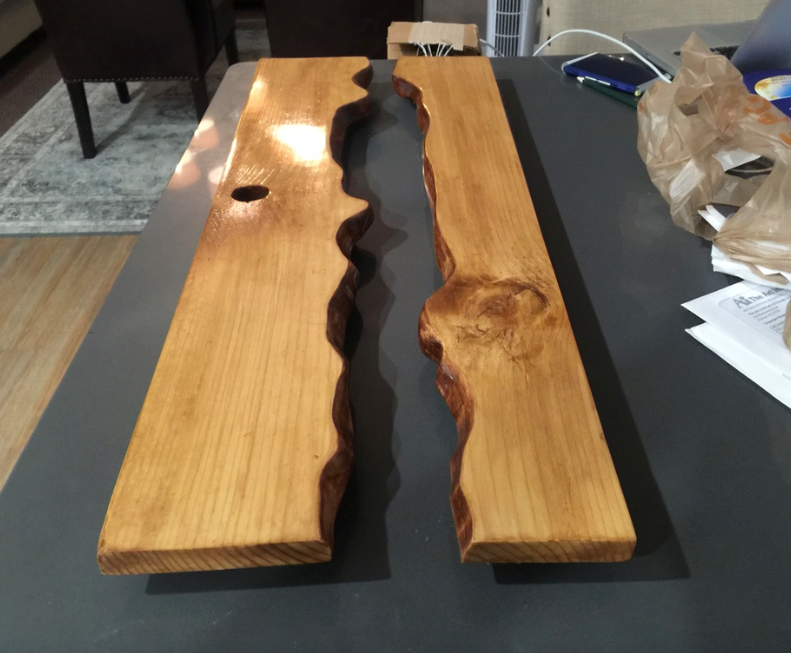 Apply two layers of polyurethane to the top and edges of the wood and let dry for the recommended amount of time. 15. Attach the wood pieces to the mirror. I took one extra precautionary step to sand the sides of the mirror where the boards will be attached. This will help the glue adhere to the mirror. Get it nice and scratchy for the glue. Apply Liquid Nails onto the backside of each wood piece. Be generous with the Liquid Nails because this mirror is pretty heavy. Clamp down the wood pieces to the mirror. IMPORTANT: Don’t clamp the mirror too tight or it will crack. Spring-loaded clamps work well for this. [caption id="attachment_6671" align="alignright" width="227"]
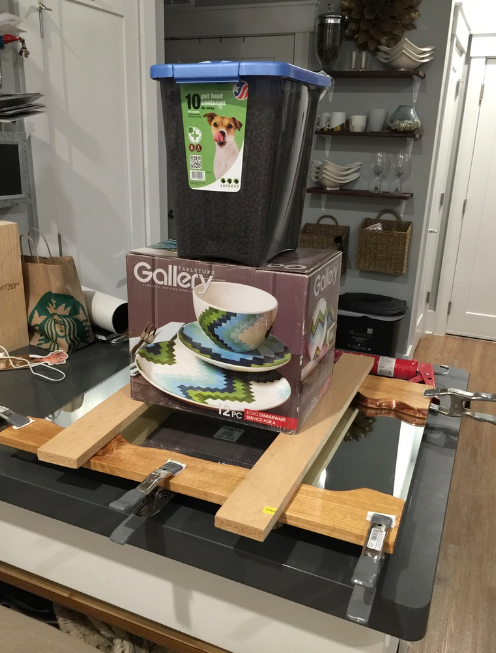 I finished this part inside because its mid-July here in the Triangle. I wanted to add a little extra weight -- unconventional, but it worked. Better safe than sorry.[/caption]
 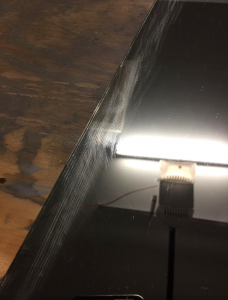 16. Last step! Add hanging hardware on the back. I keyhole bracket I found in the bottom of my toolbox. Lots of good things down there. These are heavy duty with two keyholes in each bracket which works perfectly since this mirror is heavy. Make sure to pre-drill the screw holes to prevent your wood from cracking. Attach one bracket on each side and secure with ¾’’ inch screws. Do not over-tighten these screws or you may crack your wood. As a personal preference I attached small cork pieces on each corner to keep the mirror from scratching up the wall. Growing up in a military family we moved a lot and I became expert at keeping the walls clean -- less work when you move out.
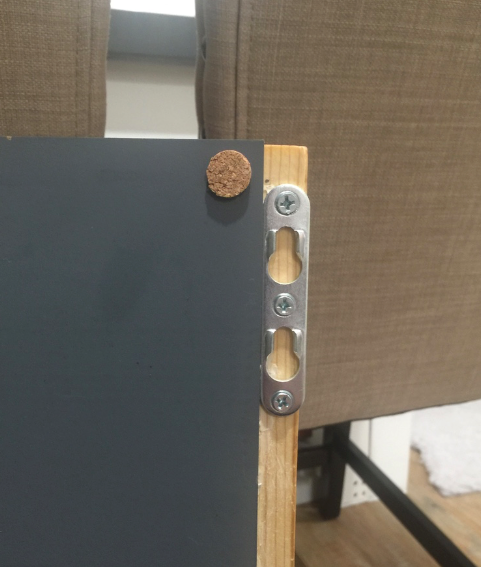
 Now enjoy and show off your own live edge-inspired mirror! Make sure to come back and check out my next DIY project tutorial. A huge thank you to Habitat Wake for partnering with me. Be sure to visit any of their five stores for your own projects – there are great finds and more importantly, your purchases support your Wake County neighbors in need. [caption id="attachment_6674" align="aligncenter" width="806"]
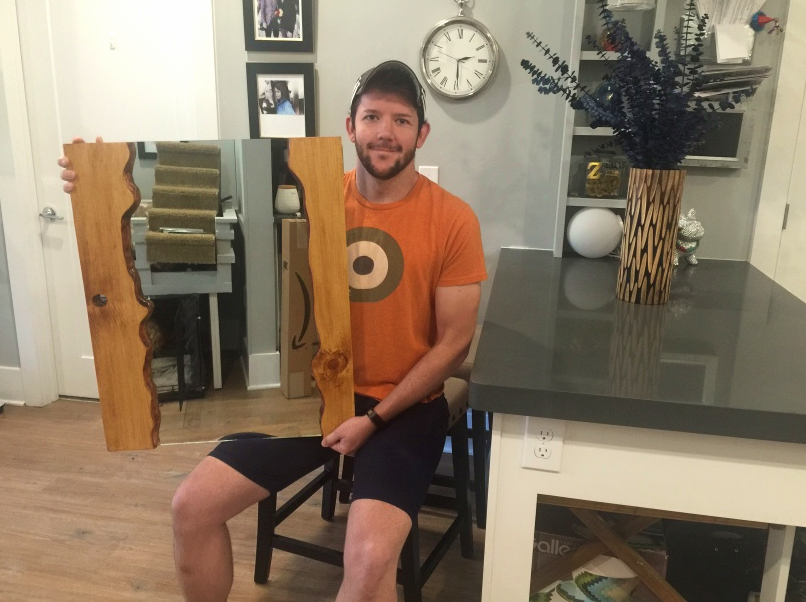 Excuse the mirror reflection. That’s my pup’s “dog loft” He doesn’t pick up after himself very well.[/caption]
Topics: